Wednesday, April 2, 2014

Design Plan for Family Room

Today I wanted to share a design plan with you I recently did for a client's family room.  Because it's so important to me to use items a client already has in their home, I often have people say things like, "Well, I'm not sure you can help me because I'm wanting all new stuff in my space, and I know how you love to move furniture around people already have."  I really don't mind this reputation, but I can also start from scratch in a space and design a new layout with all new furnishings.  I have lots of resources available to me for creating a brand new space, and I continue to create spaces with a budget in mind!

Here are a few before pictures I snapped of a space with my phone during our initial consult.  The home has a modern sense of style and while the rooms are not super large, they are open to the kitchen making the home "live" much larger.  I just love the way this house feels when you walk in.  The front door is through the doorway to the left in this image.

This was taken standing in the entry way turned to the left - notice that huge wall of windows, so wonderful to have all that light! 

That doorway leads to the bedrooms.  The seating area is centered on the TV and based on this layout, the fireplace wall really felt like a hallway to the bedrooms rather than feeling like a focal point in the room.

My main goal was to create a layout that utilized the entire room, including that great fireplace.  By enlarging the seating area, the room will feel larger.  Here's the design layout I came up with for the family room.   This layout is to scale which is so important when selecting furniture. You need to be sure the scale of the pieces is right for the size of the room.  Each square designates a square foot (just to give you an idea on the size/scale of the room). 


And here is the design board with the new furniture pieces.  This fun client is not afraid of color and was excited to see pops of it throughout the entire space.  The only thing in the space we are reusing is the coffee table.

All items are available through Mandi Smith T Interiors.  

If you would like help creating a new space in your home, please contact me.  I would love to help you with your spaces.  M.


Monday, March 31, 2014

Curb Appeal Part V

It's time for some hardscape.  Once the trees were cleared, it was time to apply the design to the yard.

I kept thinking, "How are they going to figure this out?"  Well, a very talented masonry guy (who is really great in Math) for Green Landscaping, took the drawing and careful applied it to the hill.  He started by drawing the layout on the ground with white paint for us to see how it was going to look and feel.   See all the white lines on the hill?

Those lines might not look like much, but they are super important.  They determine the number of steps, placement of the landings, and the elevation of the entire hardscape.  I cannot stress how important this stage in the process is to the entire design.  Once they start pouring the concrete and laying the block, there is no going back!

Here is the poured concrete which all the lovely stone will be based on for the new design. 

Once they started placing the stones, I quickly realized this is not a cookie cutter process.  These masonry guys are true artisans.  They hand chisel each stone to create a tight fit  and one of a kind look.  They are constantly making sure the pattern is varied and level with the block base.  Really amazing to watch this process.

Here are a few images of how the stone work came together.


I absolutely love this rounded detail where the wall begins!  It's the perfect spot for a pumpkin for Halloween! When I mentioned this, my son said, "Really Mom?  You're actually thinking about a pumpkin during this project?"  Sorry!  Can't help it.  Details like that just pop into my brain. 

And here is the overall look from the street.  Right now, it's blending in with all the brown dirt on the hill, but as soon as this area is planted you will be able to see the contrast. 

Have a wonderful day.  

Here are links to all the stages of this process.  If you would like to learn more about this project.
Also, if you live in the Birmingham area and want to start a landscape project of your own, you need to contact these guys to help you pull it together!  Landscape Designer Randy McDaniel and Paul Lell with Green Landscape! 


Monday, March 24, 2014

Curb Appeal - My Front Yard (Part IV)

It's time to show you some progress on our front yard!  Finally.  One thing I love about outdoor projects, they are not as disruptive as a kitchen remodel; and provided the weather is good, they move quickly!   At the end of each day you see lots of progress.  This new routine we've fallen into with this project as been fun.  My favorite time of the day is when my husband comes home from work, and we walk around in the yard checking out the progress.  

The first step in implementing this plan?  Cutting some of the trees.  I know this makes lots of people sad, but it was necessary.  There were also several trees in our front yard that were dead but still standing.  In fact, one super large one, very near our house was an accident waiting to happen.  The tree guy said he was surprised it was still standing!  Here are the "before" and "in progress" images for this stage of the project. 

When I look at this image I think about all the leaves we have dealt with for the past 10 years.  Notice you can not see our front door (and this is in the dead of winter before all the leaves are completely blocking our curb appeal). 

Make way for some grass!  And our front doors.

We really wanted to keep the large tree to the left in this image but it was dead.  

True confessions here - when they finished cutting the trees I was a bit freaked out.  You get used to seeing things a certain way and this really made our house feel exposed.  But as with redesigns, it has to get ugly before it can get pretty.  So, I knew we were in that stage of the process.  But it was still hard to get my mind around it.  Having the design plan helped to calm my nerves.

These images were taken just outside our front doors looking down to the street.

Now you can see the gorgeous houses across the street from us.  And they can see us - my neighbor said so!  But, patience.  It will not stay this way for long.  We have plant material coming in to give us some privacy from the street while still allowing some nice curb appeal for our house. 

I am signing off for the week.  My kiddos are on break, and I plan to take the rest of the week to enjoy having them home! M.


Friday, March 21, 2014

A Little Pop

I'm working with a client who has a beautiful, yet very neutral dining room.  She started with the basic pieces in the space, added some fantastic tonal artwork and then did not know where to go from there.  In her words, "It started feeling very blah, and now I'm thinking I want a bit of color."

This can easily happen when you're dealing with neutrals.   So, we are going to add just a bit of subtle color, pattern and texture to finish off the space.  Here are some of the fabrics we're considering. 

What I love about the main bold pattern is that it has warm and cool tones which the space needs.  There are silk draperies in the room in a warm gold, but the dining table is a grey washed wood finish and the side chairs are in a neutral beige linen.  So, this pattern has both and makes the older draperies an the new furnishings feel like they were all purposefully purchased together.   The large open weave of the fabric gives it lots of texture.  

Here are a few others to give us even more texture.  We are considering the velvets for host and hostess chairs in the space. 
Love the metallic threads in this one. 

Love this wonderful weave.  It looks fantastic on upholstered pieces - the pattern hides dirt while still reading like a solid at a distance.  Really wanting to reupholster my tired sofa in this fabric! 

This is a very thick raised velvet and it would be super durable as host and hostess chairs while giving the room a chic vibe.  It's my front runner of the velvets! 

I really don't think the rooms needs a ton - just a bit to make it sing!

Enjoy your weekend!  So glad it's Friday! M.


Wednesday, March 19, 2014

Curb Appeal - My Front Yard (Part III)

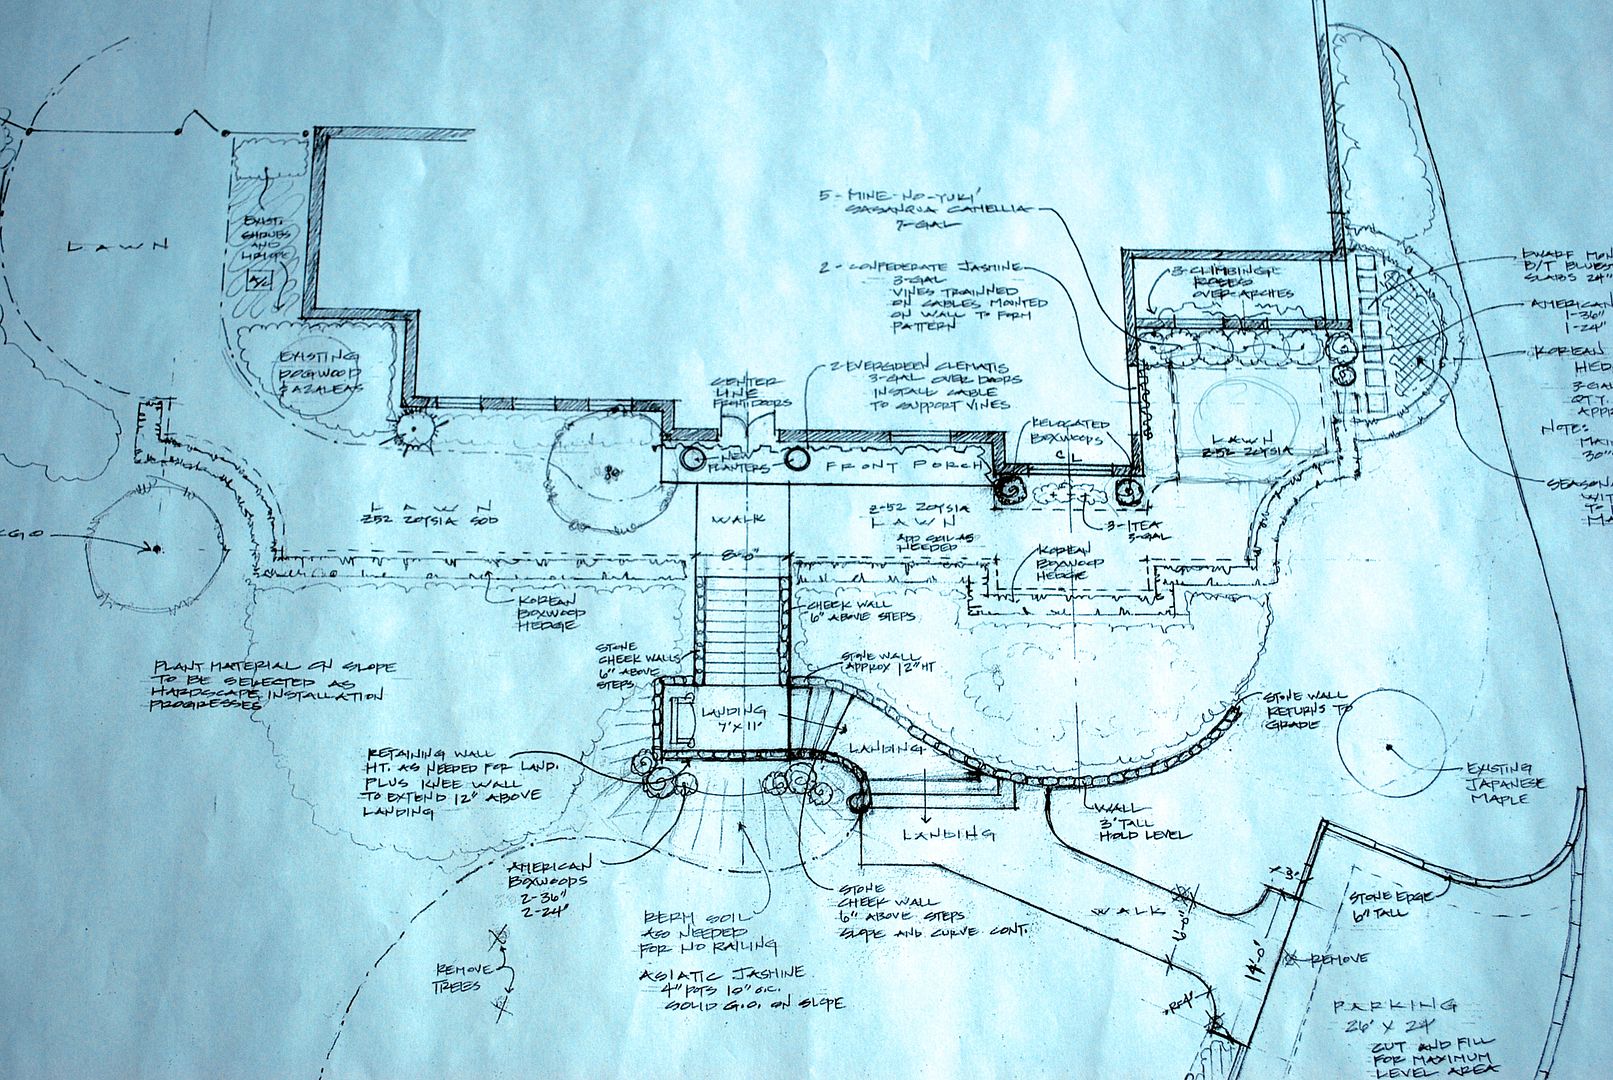
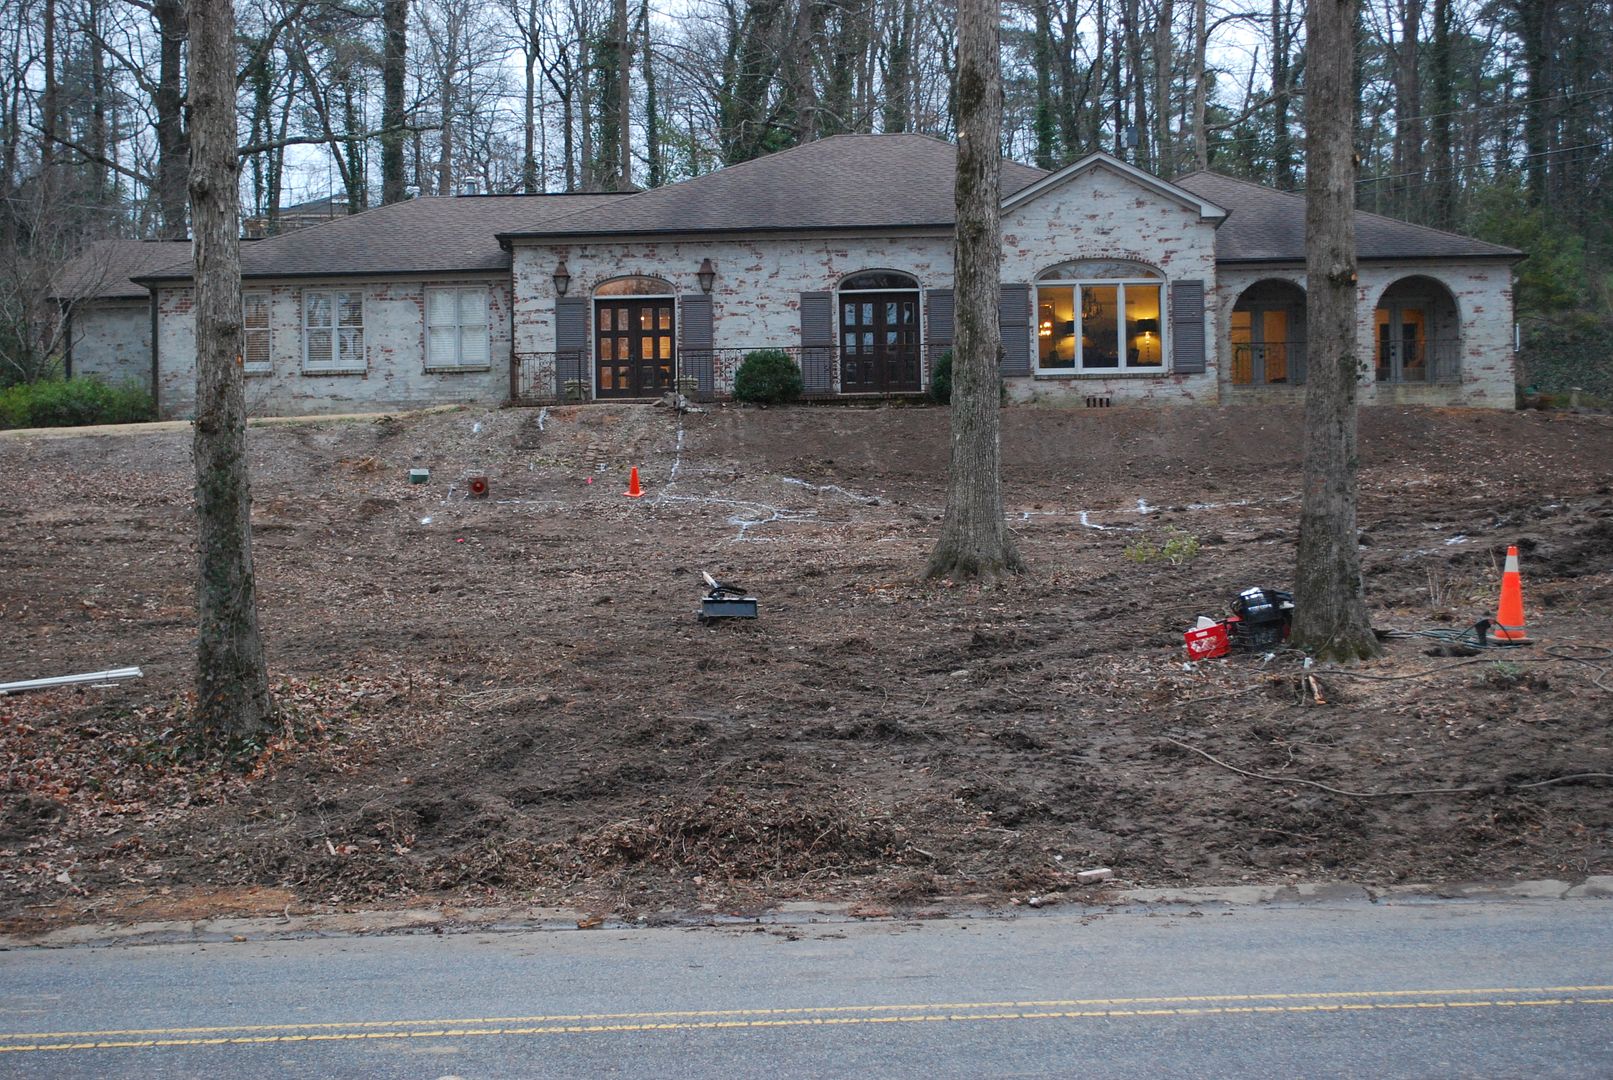
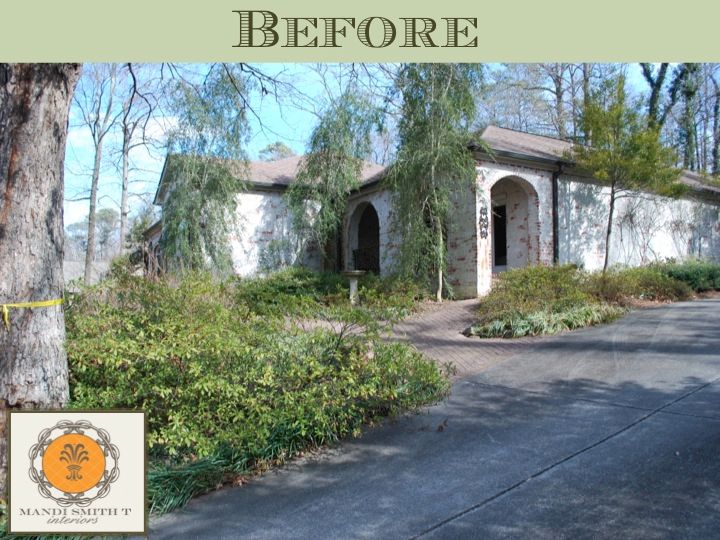
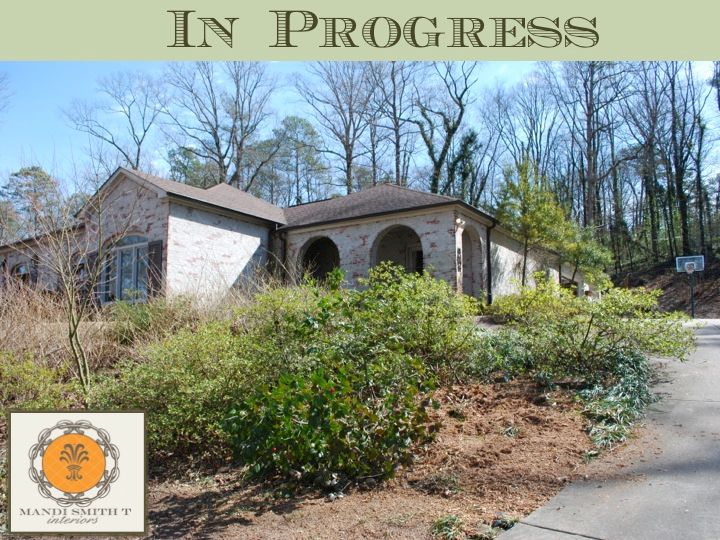
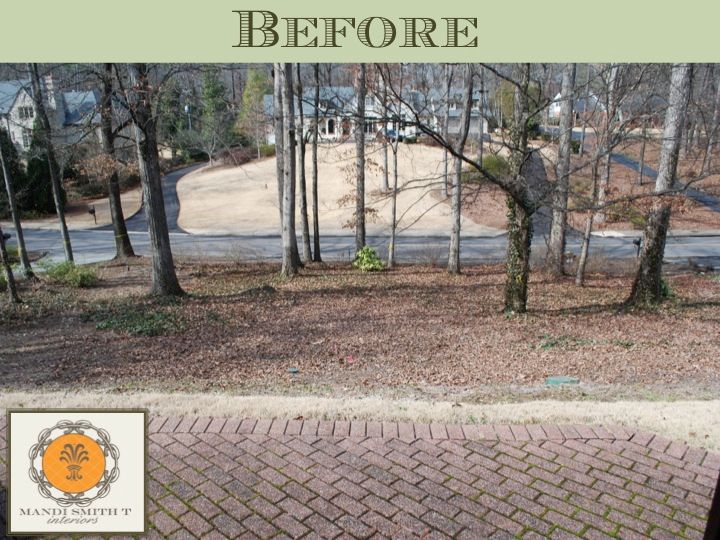
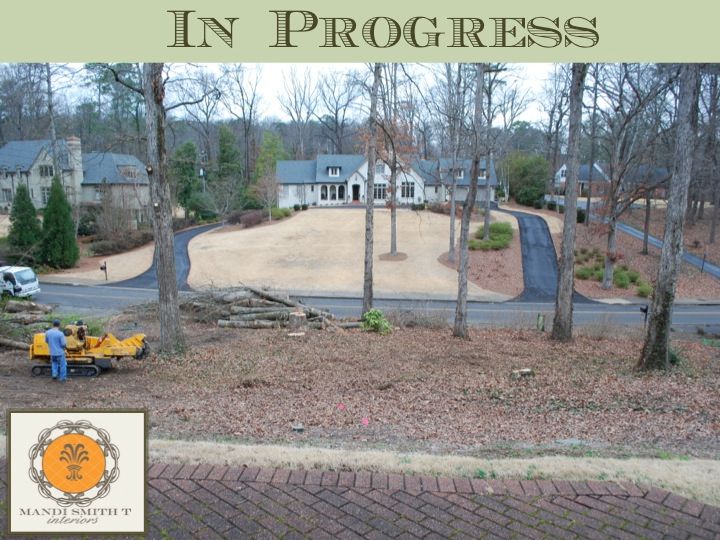
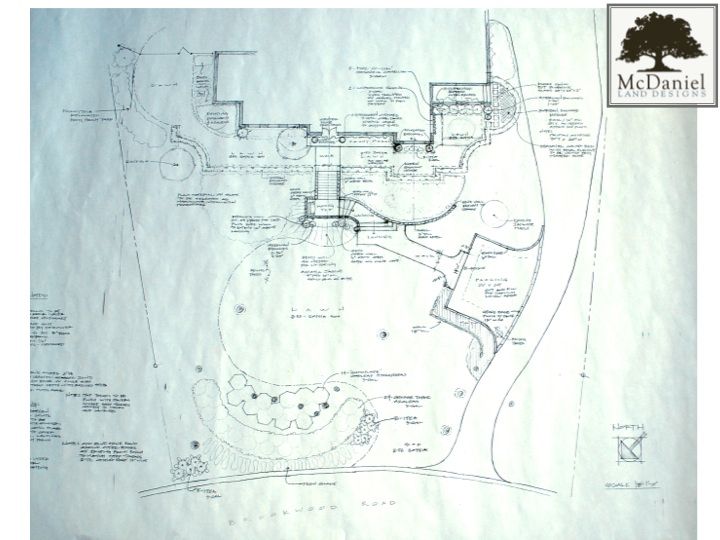
Today we are switching gears.  With a wonderful design plan from Randy McDaniel, it's now time to begin implementing the plan.  Also, to make things more interesting, I'm including images from the portfolio of the company we ultimately selected for our project.  Their work is wonderful!  If you need to catch up on this project, start here Curb Appeal (Part I) and Curb Appeal (Part II).  
Like any big project, it's important to get a few estimates to compare pricing.  This will allow you to compare apples to apples since all the companies will base their estimate on the same specifics.  Also, it gives you an opportunity to talk about the plan in more detail with each company and get more familiar with what has been specified in the plan.
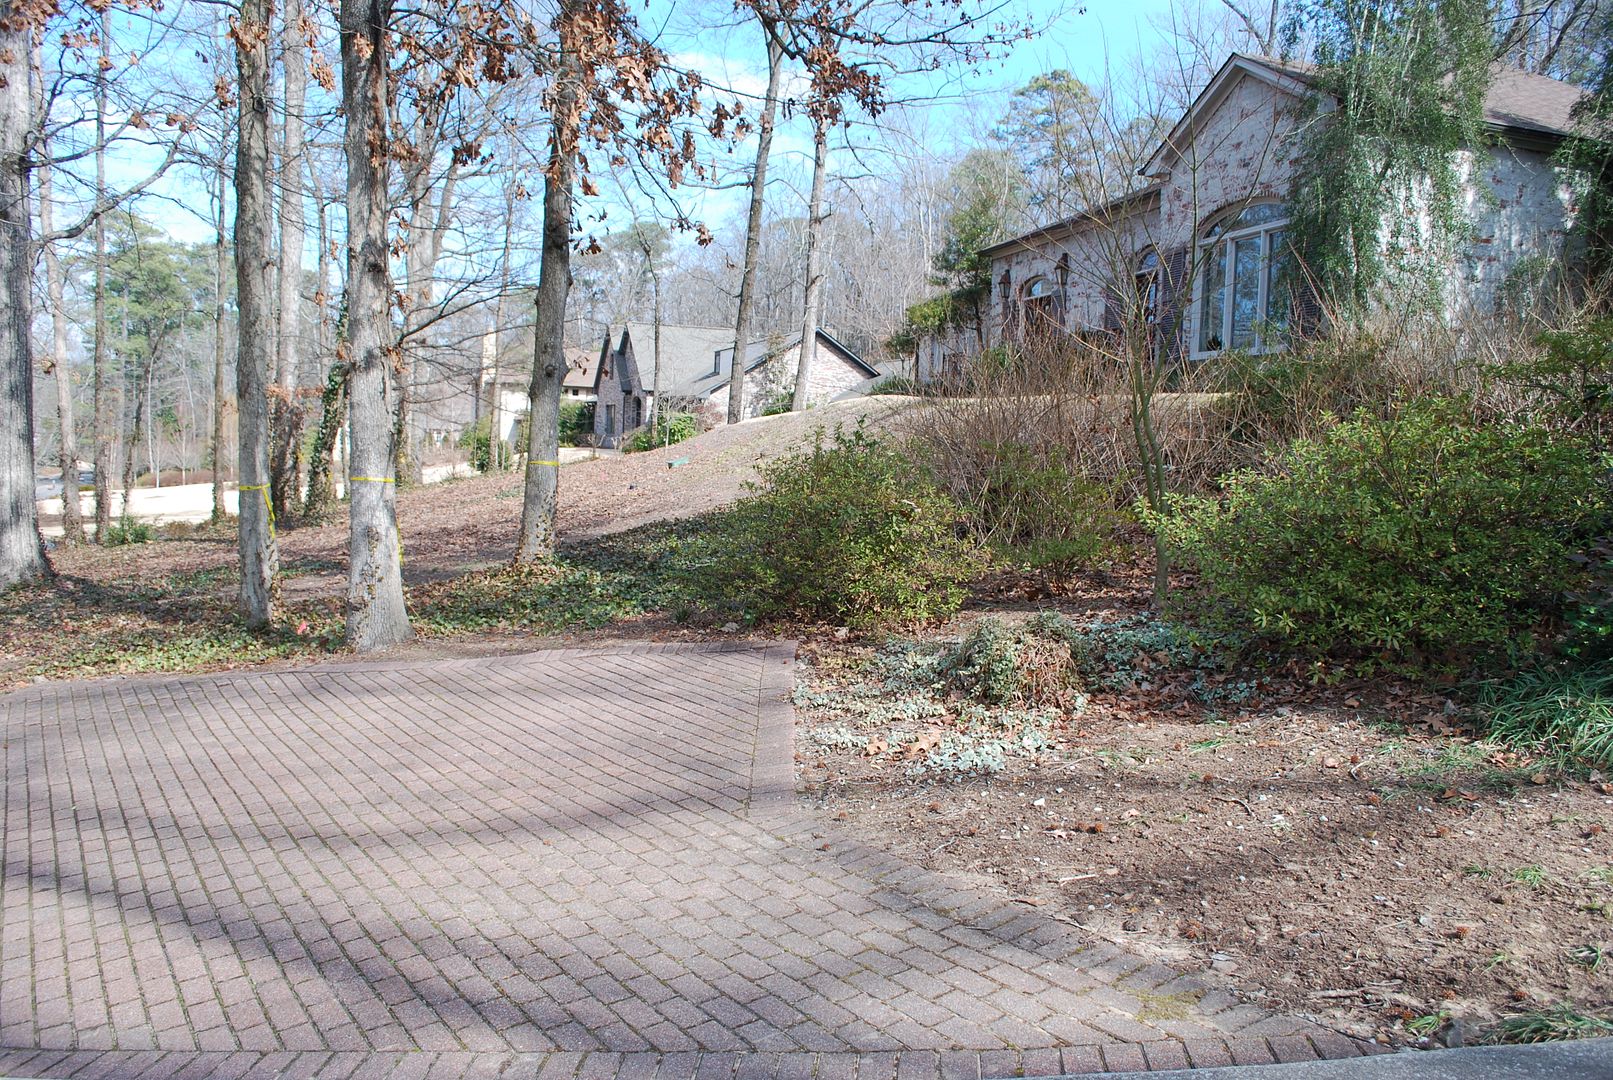
via

You'd be surprised the questions each company asked me during this process. For example, one asked if we wanted additional lighting in the trees for the kids to be able to play later in the evenings outside.  Another mentioned including a buff color to the concrete for our parking pad to ensure it had a similar aged look to our current driveway.  So, this stage of the process really helped to solidify specifics we wanted from the installation.  
Since pricing on this type of project will vary dramatically based on your geographical area, I thought it would be more helpful to give you my thoughts on how to select a landscape company for a project.   These are the things we considered when selecting our installation company.  This list is not in any particular order.  For our project, all these items were extremely important to us.  So, I've not ranked them.  
via
It Never Hurts to Ask
First, how do you decide on the companies who will be giving you estimates?  Start by asking your landscape designer who they recommend.  They will give you names of people they know and trust to implement their plans in a great way.  But, don't stop there - ask friends who have completed a significant project for the name of their landscape company.  If they were pleased, it's likely you will be too.
via

While I did not do this, I've had friends tell me they put a note in the mailbox of homes with landscapes they love to request the name of the company.  The key here is to ask around - whatever you do, don't go straight to the yellow pages! 

A Peek Into Their Past
First, the easiest part of the process - do your homework.  Start by checking the company's background.  How long have they been in business, and do they have all the certifications, insurance etc.?  Also, ask them about their knowledge of permits required in your area.  If they look clueless, you need to move on!
via

This is a first step in the process.  Most of this information you can determine by simply going to their websites.  But it is a first step that must be considered.

Tell Me What You Know
It is extremely important for the company to demonstrate their knowledge of both plant material and hardscape installation during the interview process.
via

Any landscape company worth their salt will make suggestions and comments that will clue you in to their working knowledge of plant materials and hardscape.  For example, if your plan has a shady area where grass is being recommended, they may suggest a couple of different sods that do well in shaded areas where grass is generally difficult to grow.  The company we ultimately selected for our project pointed out a couple of different boxwoods as alternatives which they have had success with in our area.  They were also a bit cheaper than the ones originally sourced in the design plan.  

Eager To Please
Client Responsiveness - I can not stress the importance of this requirement.  One very quick and easy way to determine this is to see how quickly the company returns a detailed estimate to you for consideration.  The company we selected for our project was the first to return their estimate, and it was the most detailed estimate we received during the process.  Each time I contacted them, I got a response within hours not days of my email.

Proof is in the Pudding
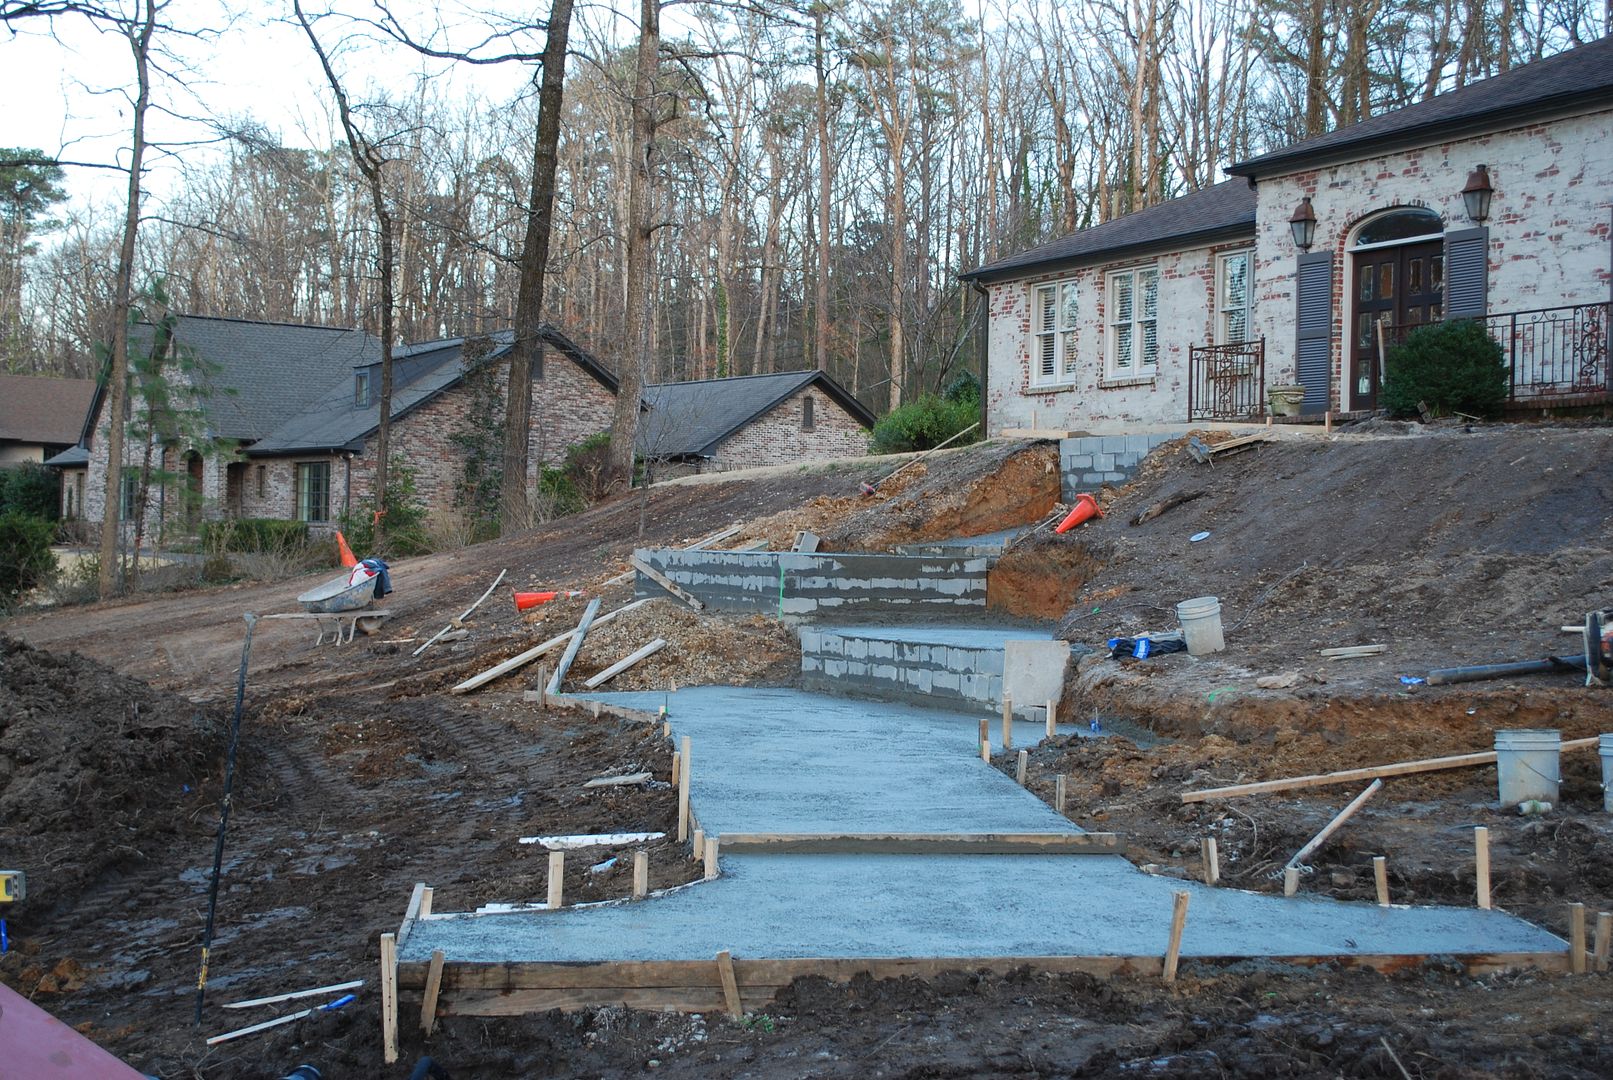
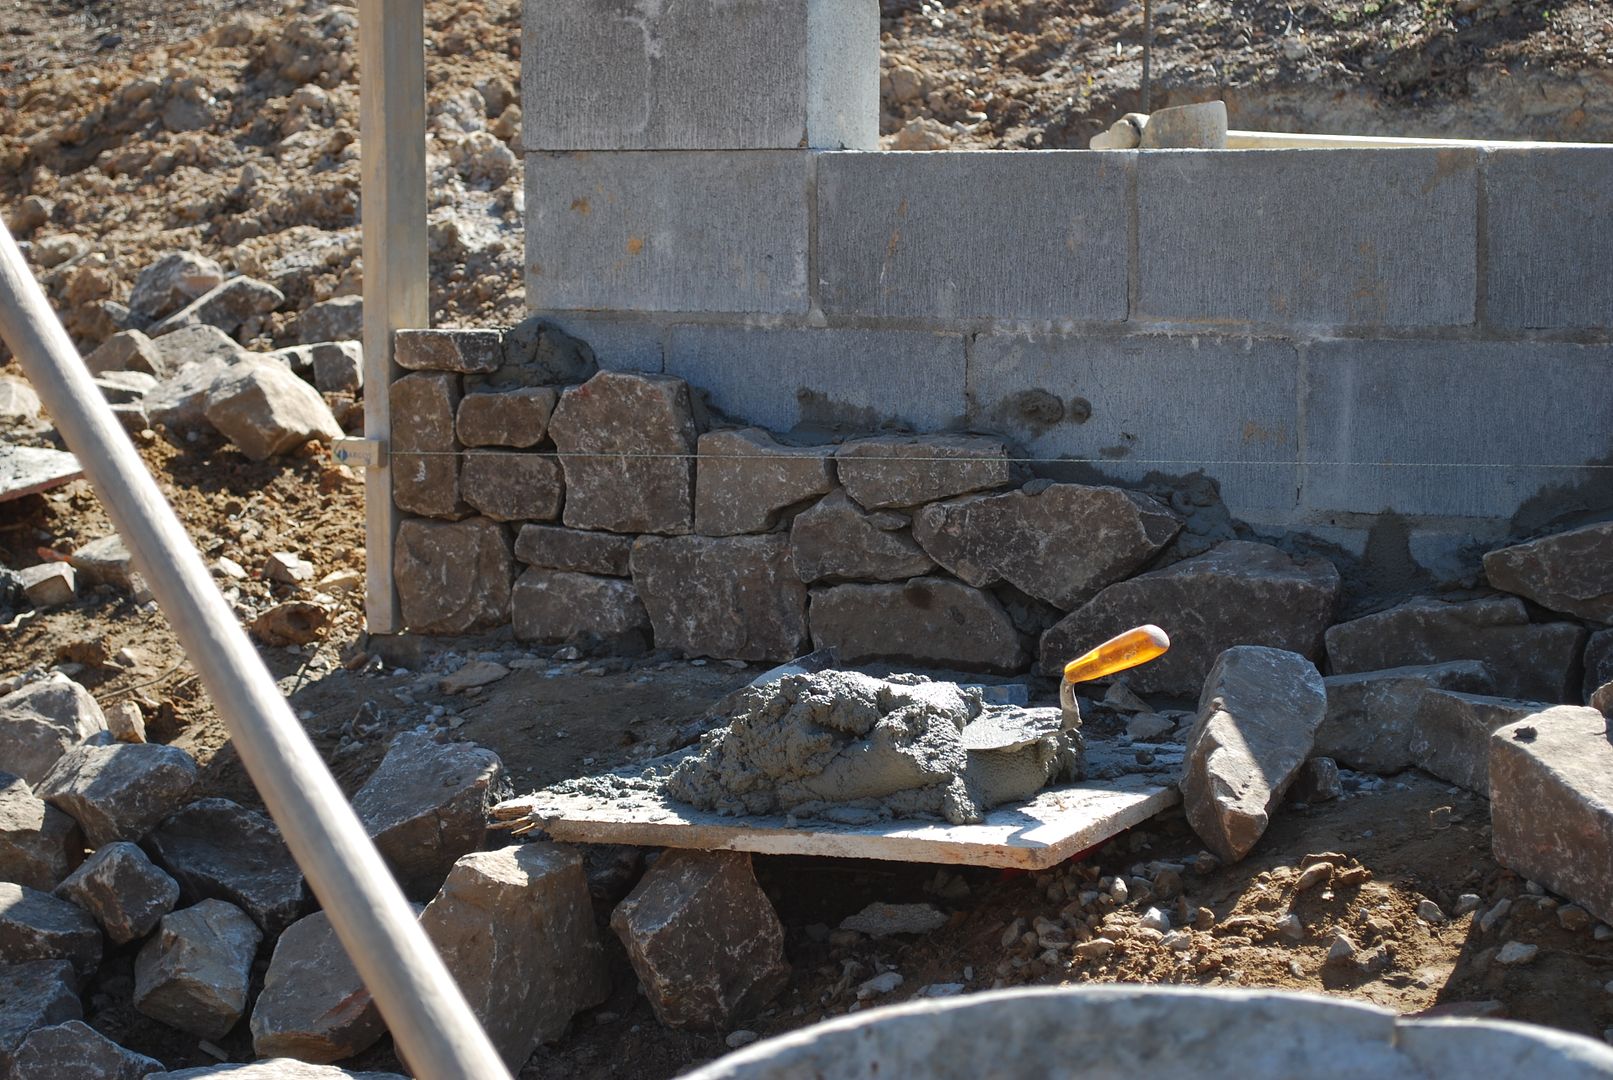
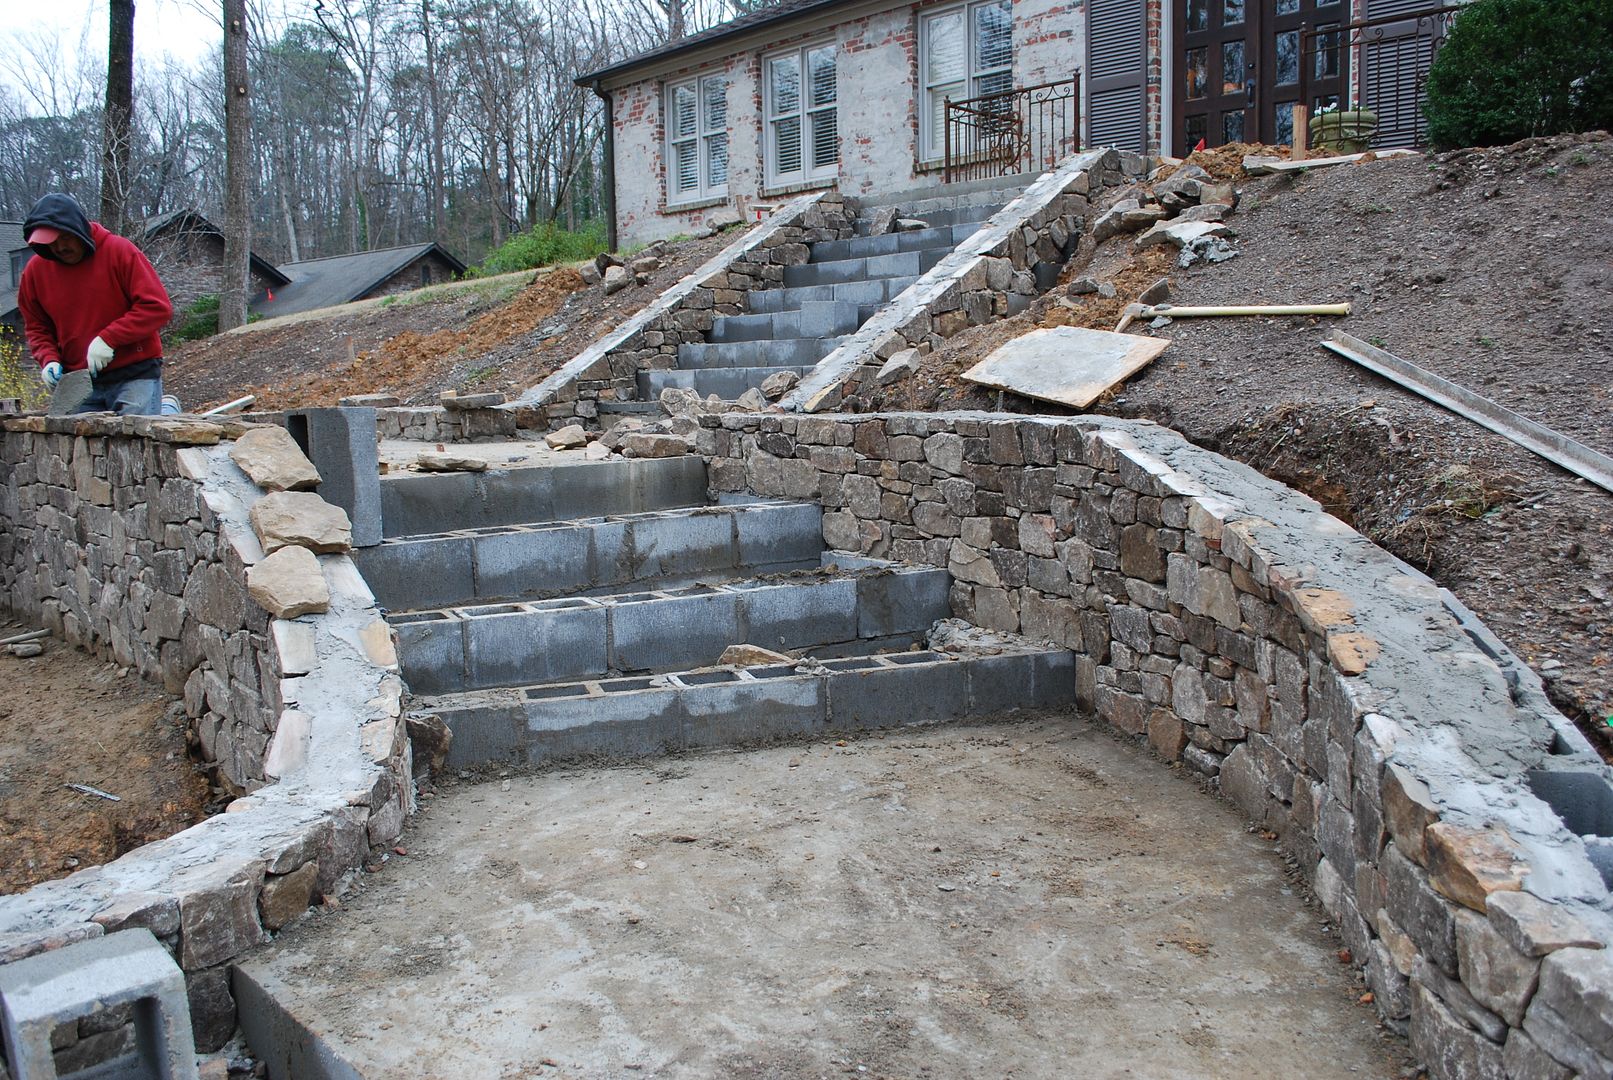
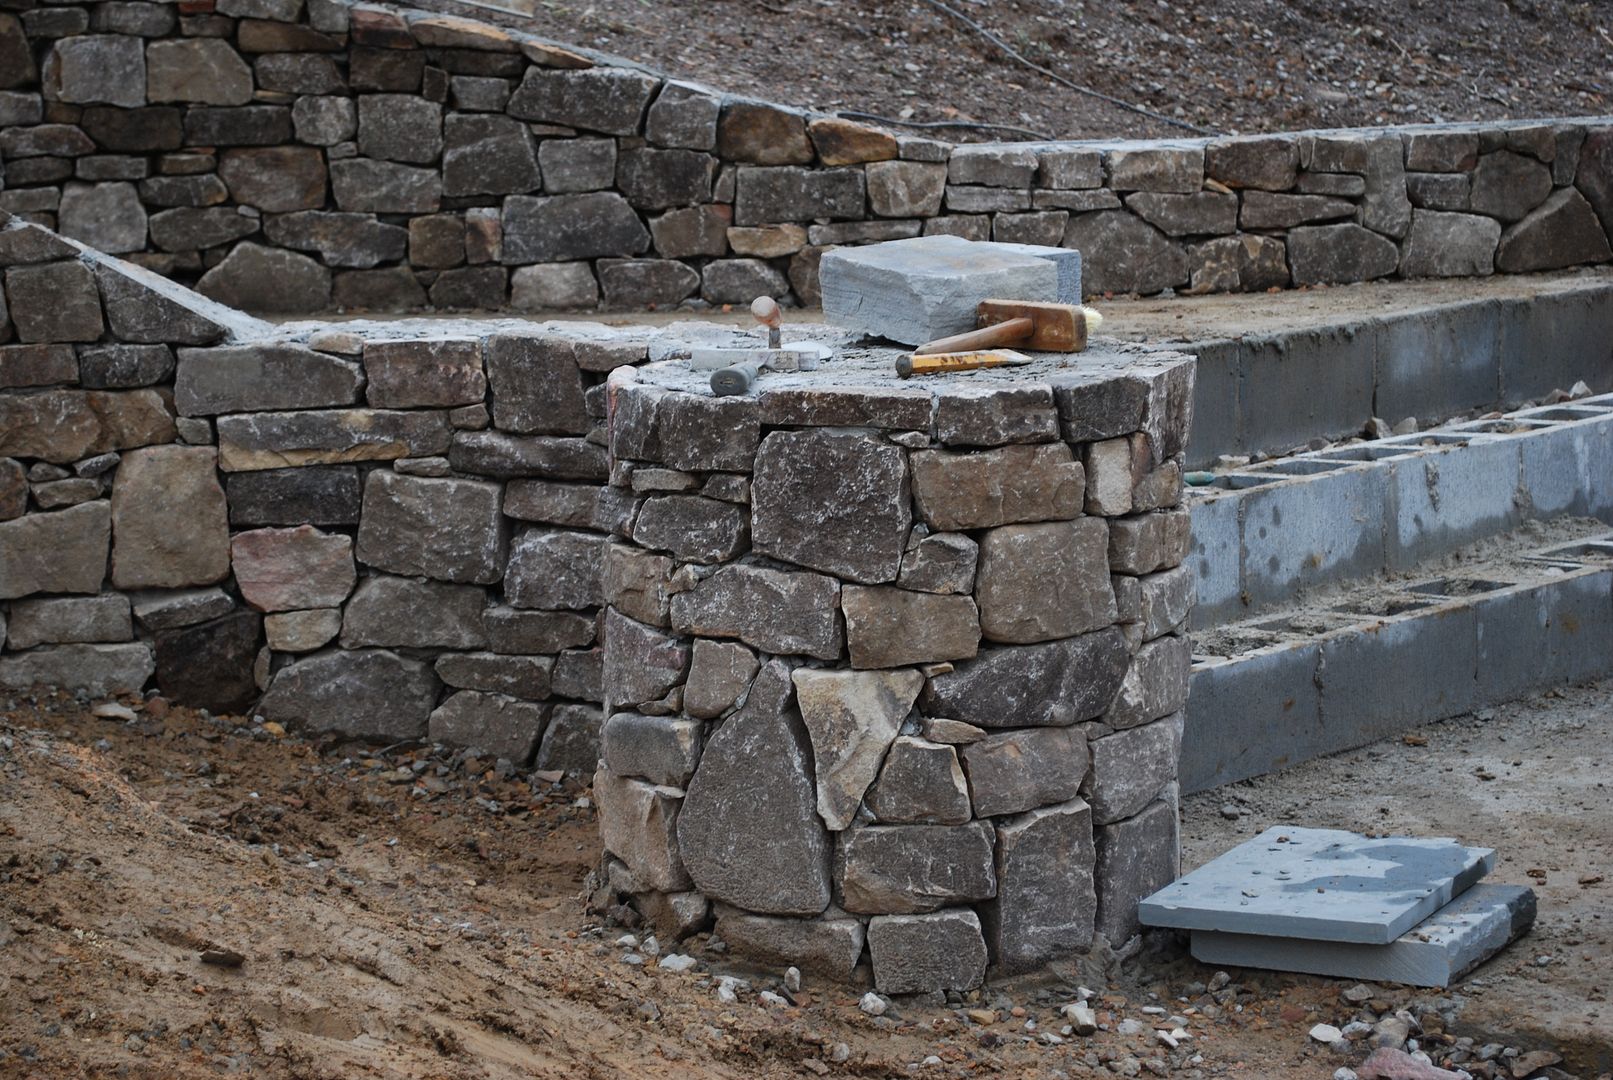
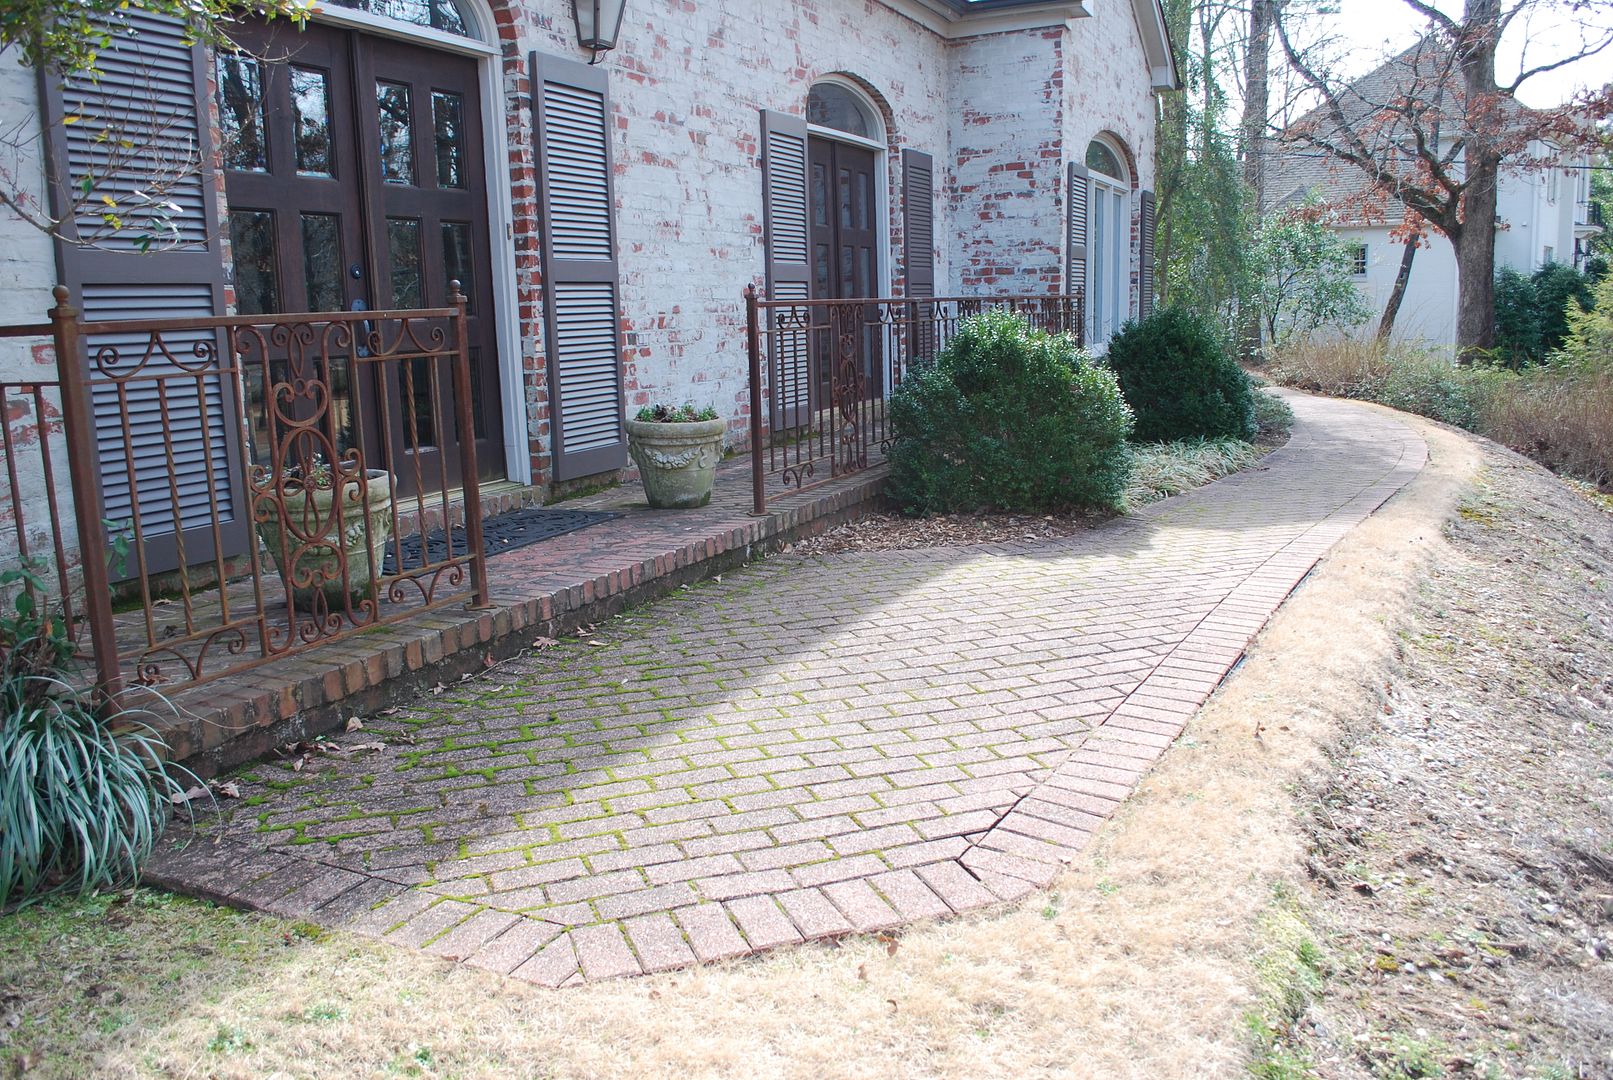
Always. Always request to see samples of their work.  The best way to tell if they are going to be able to do your project is to see if they've done something similar for someone else.   Since our project included retaining walls, steps and landings, I was very interested in seeing some examples of the ability to complete this.  I did lots of drive-bys.
via

Personalities Jive
(a very technical term)
Not only does your contact person need to jive with your personality, they also need to jive with your landscape designer who will play a major role in the process (have to say, I never thought I'd use the jive in a blog post. Ever.)
via

One way to really evaluate whether the company is adding to the process is to ask them questions about what other landscape companies have mentioned to you.  Are they focusing on what they recommend or basically spending time critiquing what others who are bidding against them have said.  This is very telling about their personality! 
In the end, we selected Green Landscaping, Inc. and they have been the perfect fit for us.   This wonderful company got it's start installing landscapes for new construction.  From this work, they began to received referrals from happy homeowners and branched out into projects like ours.  

Our contact person, Paul Lell is one of the most responsive people I've ever met in business.  And remember, I was a lawyer for almost ten years before doing this.  He usually responds to any email or text within 20 minutes and never longer than a couple of hours.  If he doesn't know the answer, he says "I don't know, but will find out for you."  Then consistently follows up.  I really cannot say enough about his energy and eagerness to get the job done.  
via

If you are in the Birmingham area and need a fantastic landscape company, you are in luck.
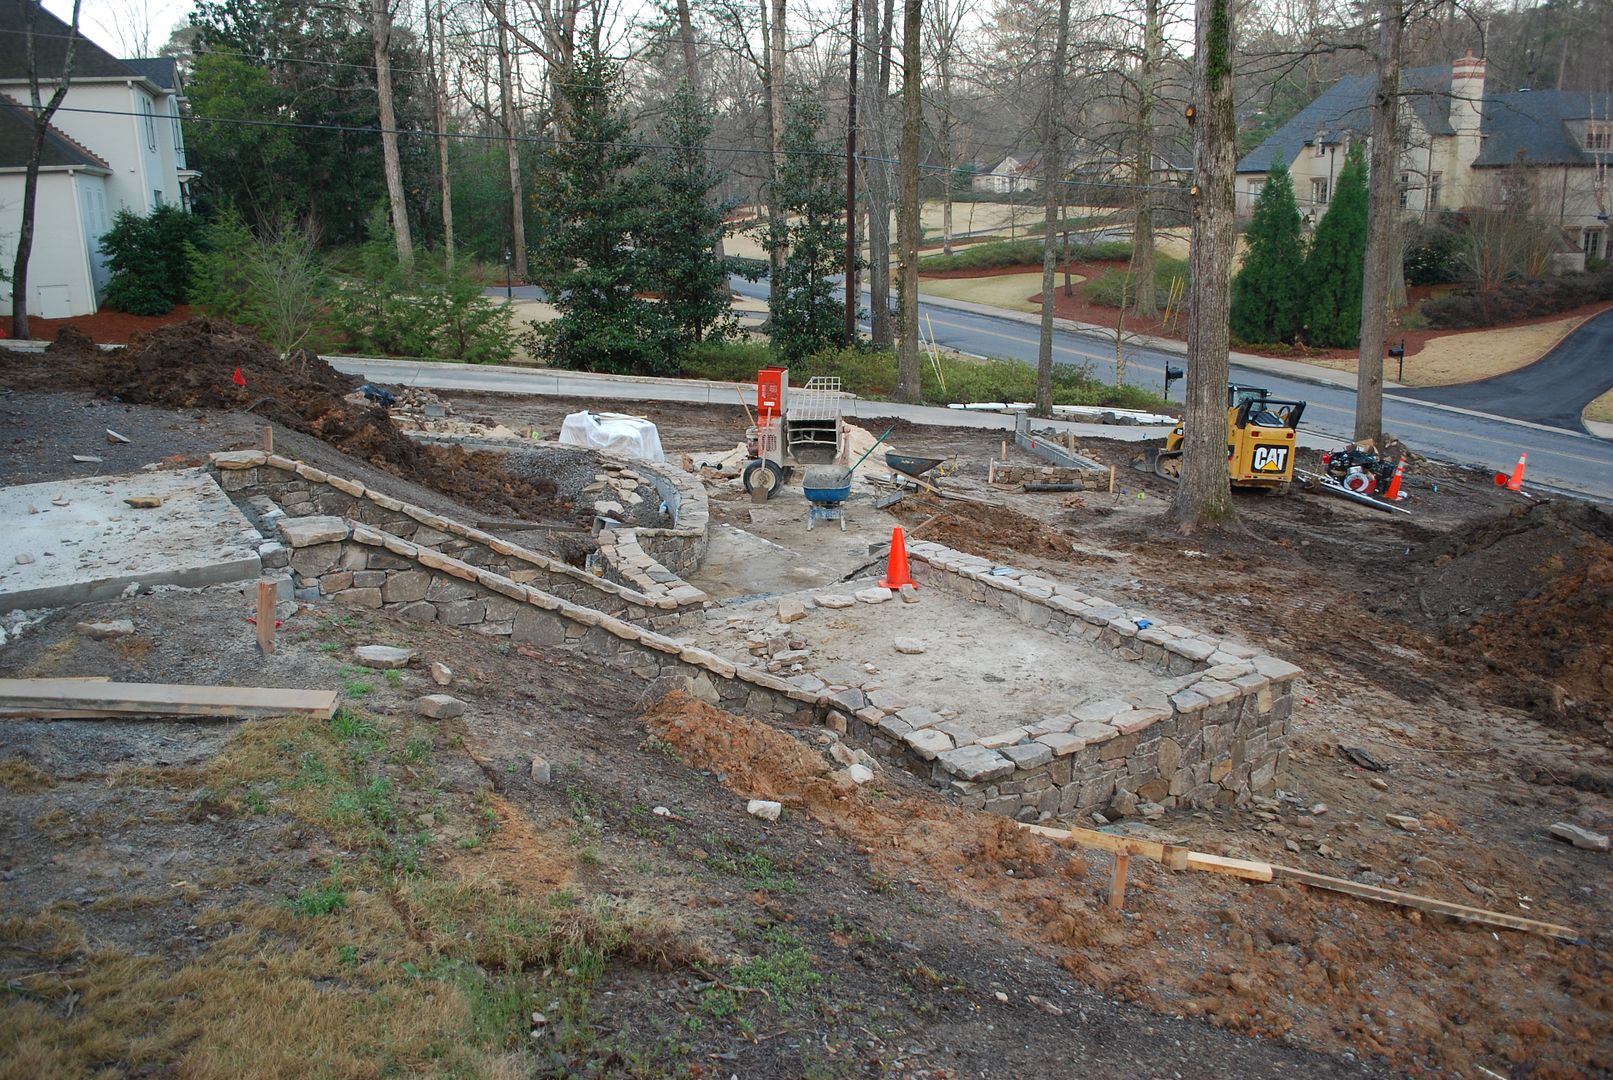
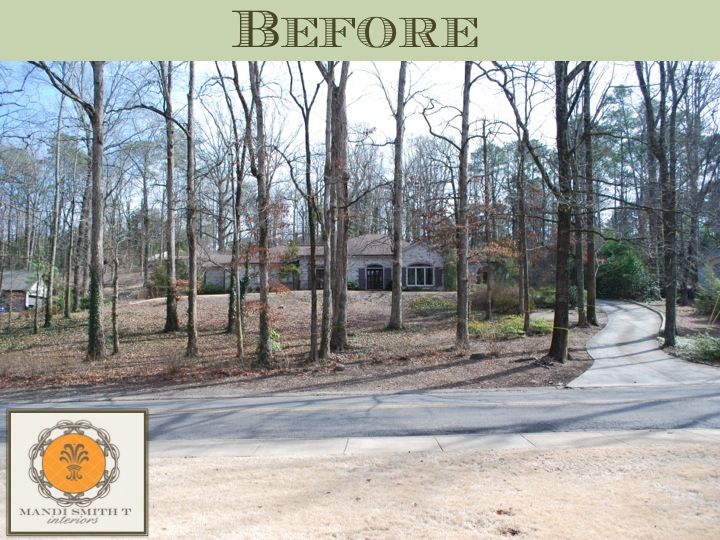
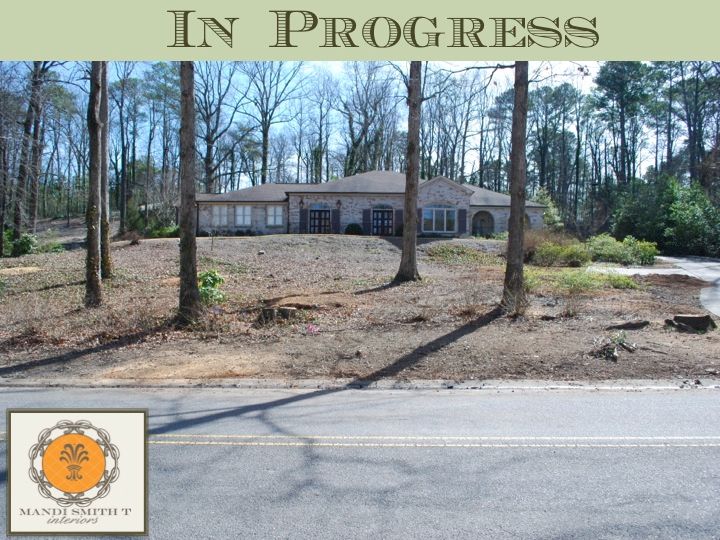
Next week I'm going to show you some amazing images of the progress.  We are almost finished and the before and afters are like night and day.  M.


Monday, March 17, 2014

A Green Theme

Did you know that green is my favorite color?   When used correctly, it can give you a pop of Wow.  But, I love that it can sooth a space when it's treated like a neutral.  How fun that there's a holiday you instantly think of when this color comes to mind!

All images via Pinterest

Now get out there and pinch a few co-workers!  M.


Monday, March 10, 2014

Curb Appeal - My Front Yard (Part II)

What a gorgeous weekend!  I love it when we get a little hint of Spring.  Gives me hope the winter weather is almost behind us.  Today I'm sharing the second installment of my Curb Appeal Project.  If you missed my first post click here - Part I

Now, I want to give you all the details of Randy McDaniel's landscape design plan.  As you know, we gave him some specific things we wanted his plan to solve.  We wanted more privacy for the entrance to our bedroom which most people assume is an informal entrance to our kitchen.   We wanted to direct people to our front door and we wanted our parking area to be more substantial.  Drum roll please . . . 
via
This drawing is on architect size paper, so here are a few details I wanted you to see.  We are still fleshing out the some of the plant materials we will be using, but the hardscape is established.  I completely forgot to mention my husband's only request from the project (sorry!).  He wanted a grassy area in front to be able to throw the ball with the kids.  Randy accomplished this too.  The main concepts.
via
Just to give you some perspective on this project.  We received this plan in the Fall and mulled over it for a couple of months.  Then, we got estimates for this project (which I will talk about next week). I think it's super important mulled over this type of project.  We will be living with the decisions we make here for the rest of our time in this house which I'm hoping is until we move to assisted living much later in life.  So, this is important.

Let's talk details.  

Eliminating Bedroom Access
This was the number one item on my list.  Not only did Randy accomplish this, he also created some private space for us by reclaiming the large bed of azaleas and gardenias as an outdoor seating area for us to enjoy.    

Our current discussion is whether we want grass here (that extends around from the front) or do we want pea gravel that will be easier to maintain for a seating area.

Encouraging Guests to Use our Front Entrance
Let's face it.  People tend to be lazy.  When given an option, they will take the path of least resistance.  So, creating a front entrance to entice guests to take requires some subtle psychology!  You have to think about the number of steps they are willing to take as well as how close it seems to them when they drive up.  Here is Randy's subtle solution.

When you look at this plan, the additional space of the parking area does not seem like much, but when you see it in person (it's already been marked off), it is night and day.  

It also brings the guest a bit closer to the front door which will "encourage" them to come to use the front entrance.  The devil is in the details in making this look amazing.  For example, the pony wall on the street side of the parking area blocks this span of concrete to prevent it from looking like the parking lot at the mall!  The wall also allows people to see we have a parking area.  Lots of people would fly up our driveway and not even notice the parking area. Lastly, it ties in this area with the wall above, making it feel cohesive all the way to the street. 

More Prominent Front Entrance
The style of our front gives the illusion of two front doors.  In reality, the doors to the left are operational and the ones on the right are actually just windows.  So, I think the architect (I can only guess since we did not build this house), included the custom railing to ensure people would be directed to the proper door.  The biggest problem I have with the railing is it makes the landing it encompasses is totally useless.  You can only see this once you are at our front doors.  

So, Randy suggested we remove the railing here and extend the lawn along that area to serve as a step down onto lawn.  This will open up the area and feel of the front once you are standing on the top of the stairwell.   As an aside, the large boxwood will be moved to frame the dining room windows. 

This type of attention to detail is what makes a landscape designer worth their weight in gold.  You will not notice any of these details when you get out of your car and come up to our front doors.  But that's the goal - subtle and lovely.  Have a great Monday. M.